The Zwift Click and Cog v2 upgrade kit sold in the Zwift Shop since September 9 2025 comes pre-installed on a trainer-specific freehub body. The cassette body pre-installed on the Zwift Cog v2 may or may not fit on Tacx Neo 2 trainers depending on its date of manufacture.
| Will fit as shipped from Zwift Shop | May require chain whip and lockring tool |
|---|---|
| Neo 2T Smart | Neo 2 Smart |
| Neo 2 Smart SE | |
| Neo 3M Smart |
Older generation Tacx trainers were designed for bikes with quick release rear axles. Newer production trainers made a running change to fit either quick release or thru-axle bikes. Garmin describes the change to the Tacx Neo series trainers as Type 1 or Type 2 axles.

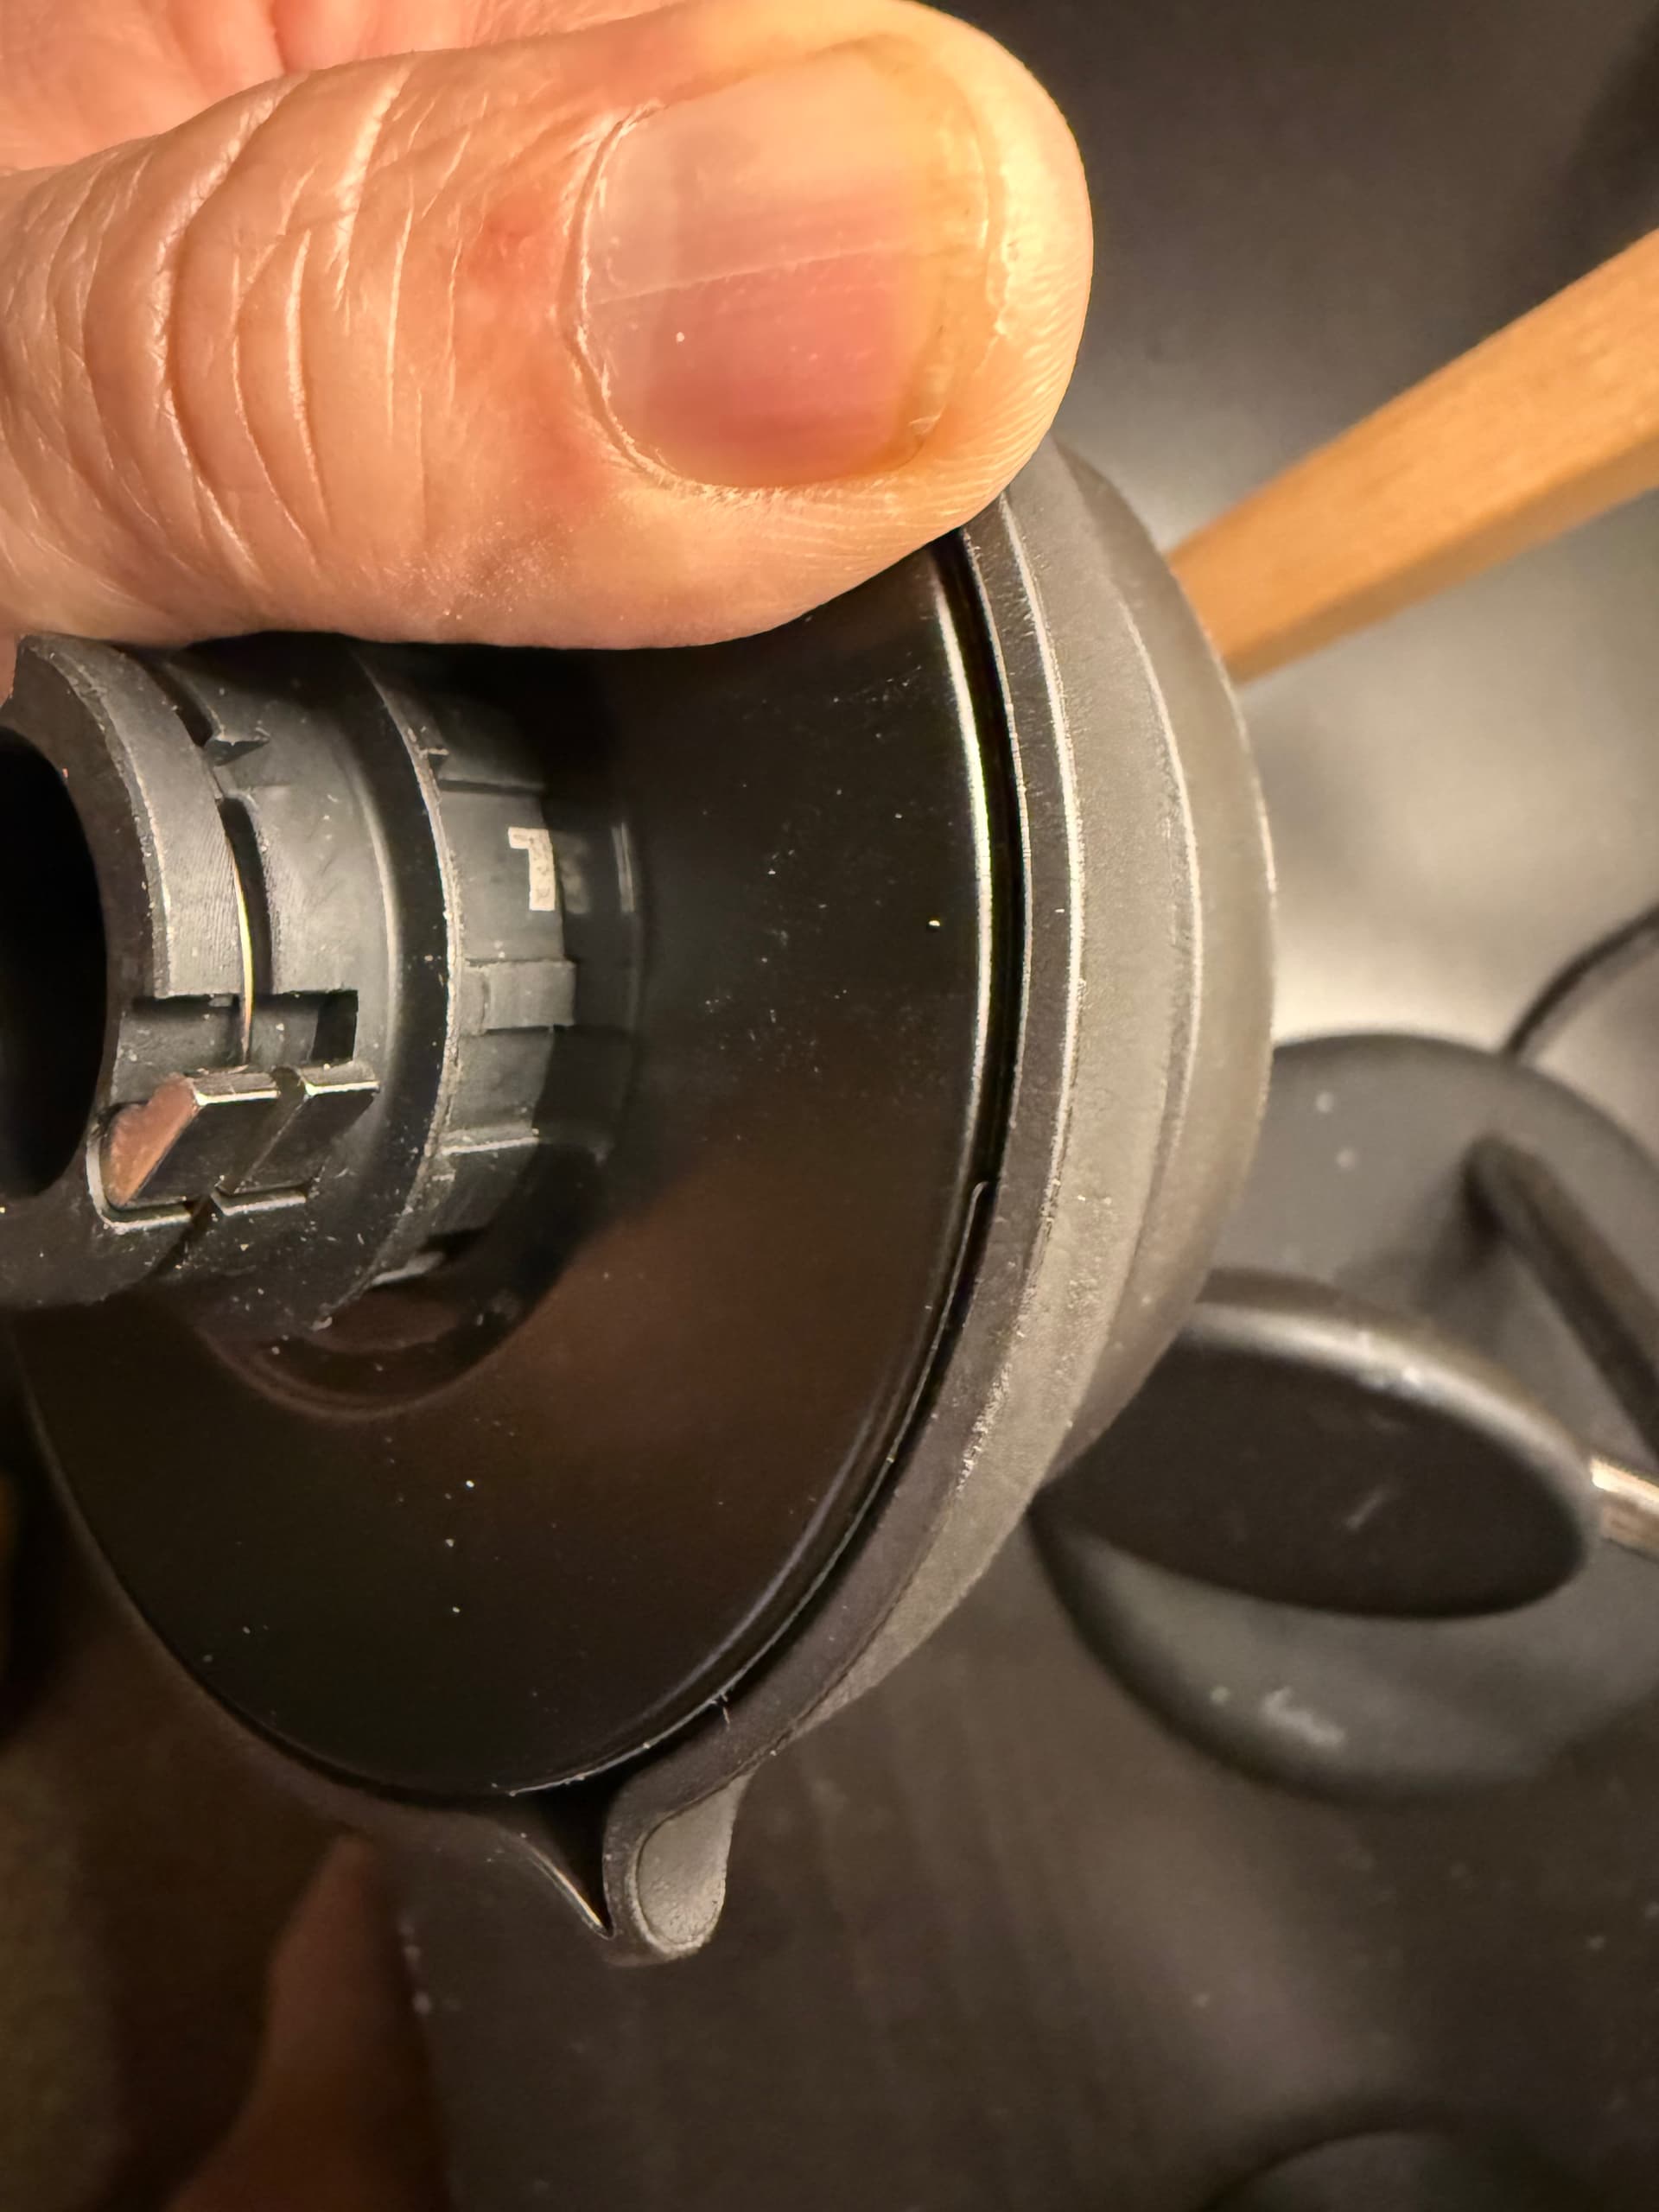
If the axle end caps on your Neo 2 Smart have white letters and numbers
- Install the Zwift Cog v2 using the included multi-tool following these instructions.
If the axle end caps on your Neo 2 Smart are all black
The Zwift Cog v2 can be removed from the pre-installed freehub body. You will need a chain whip and cassette lockring tool.
- Follow these instructions to remove the multi-gear cassette on your Tacx.
- Repeat the steps to remove the Zwift Cog v2 from its freehub body.
- Slide the Zwift Cog v2 onto the splines of the trainer’s freehub body.
- Secure the Zwift Cog with the lockring.
If you own a MY2020 or newer Tacx Neo series trainer:
The Tacx-specific Zwift Cog 2 will fit your trainer without special bicycle specific tools.
- Use the included Zwift multi tool and follow these instructions.
If you need assistance with cog removal or installation, please contact Zwift Support, and we’ll be happy to provide one-on-one assistance!